Replacing bearings on a conveyor: a step-by-step SOP
A standard operating procedure for replacing conveyor bearings: dismantling, marking, new unit, lubrication and post-installation checks.
A drum bearing is one of the components that wears out first. Replacement without a clear procedure often ends in drum misalignment, repeated spalling of the new bearing or belt mistracking. In this article — our standard operating procedure (SOP) for replacing conveyor bearings: from preparation to post-installation control.
When a bearing needs replacing
A bearing does not fail suddenly — it gives signals. The signs by which we schedule replacement: a characteristic hum or crunch during rotation, local housing heating above 70 °C, visible drum vibration, metal dust appearing near the unit. If even one sign is persistent, further operation is unsafe — cage failure can jam the drum while running.
It is important not to confuse cause with effect. A bearing rarely wears out “by itself” — more often it is destroyed by drum misalignment, lack of grease or abrasive that got inside. That is why during replacement we always look for the root cause: if it is not eliminated, the new bearing will last as long as the old one and the repair will have to be repeated.
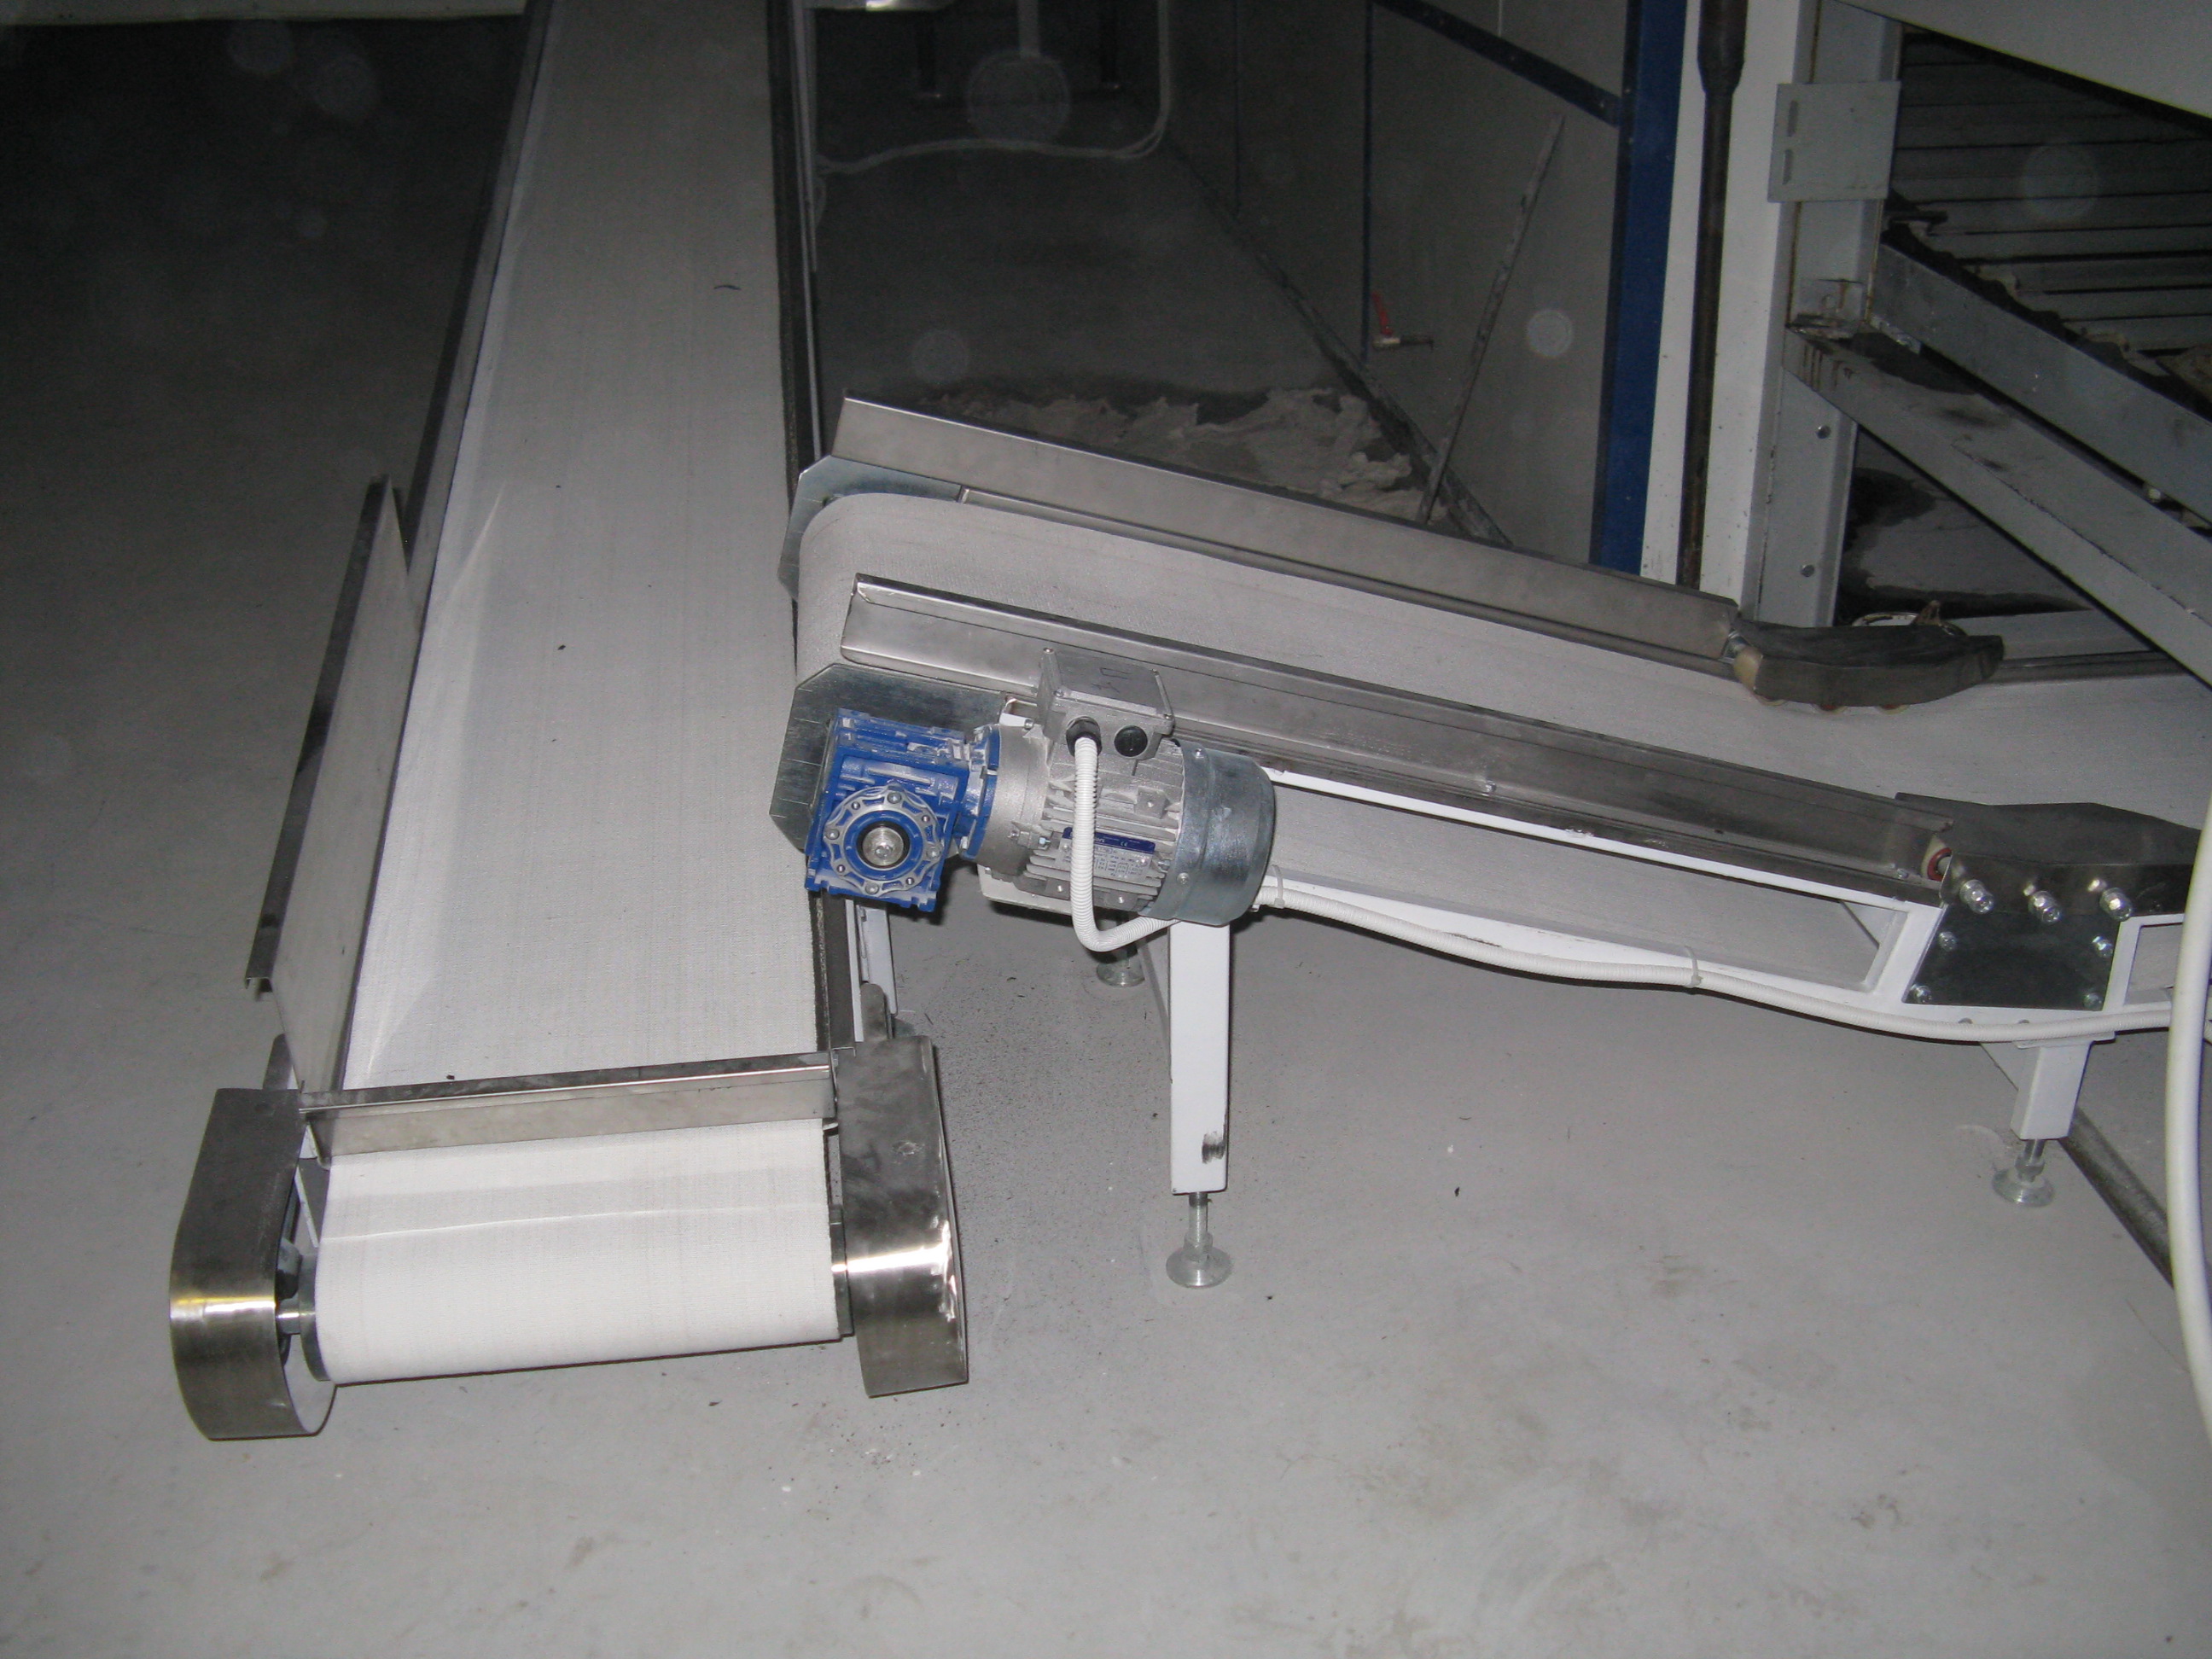
On conveyors in a food workshop an additional wear factor is washdown. Pressurised water washes grease out of open units, so on such lines we fit housings with seals of class IP66 or higher, or use stainless steel SUC-series bearing units in a food-grade design. Saving on the seal here results in the service life being cut by half or two-thirds.
Preparation for replacement
Half of a successful repair is preparation. Before stopping the line we check the availability of a new bearing of the correct size, seals, lubricant and tools. “Improvised” replacement without spare parts doubles the downtime.
- Check the marking of the removed bearing against the new one — bore diameter, series, clearance class.
- Prepare a puller, a torque wrench, a set of feeler gauges.
- De-energise the drive and hang a repair tag on the panel.
- Place a tray so old grease does not get onto the belt.
SOP: replacement sequence
The procedure is carried out strictly step by step — skipping any of them produces a faulty installation:
- Release belt tension — loosen the tensioning device so the drum can be removed freely.
- Mark the position — put marks on the frame and bearing housing to restore the geometry.
- Dismantle the housing — undo the fasteners, remove the drum, push out the old bearing with a puller.
- Clean the seat — remove burrs and old grease, check the shaft for ovality.
- Install the new bearing — press it in without skew, applying force only to the inner ring.
- Apply lubricant — fill the chamber to 30–50% of its volume, no more: an excess causes overheating.
- Assemble the unit — install the drum by the marks, tighten the fasteners to the rated torque.
Technical parameters of bearing units
Below are reference figures we use when selecting and checking conveyor drum bearing units.
| Parameter | Value |
|---|---|
| Housing operating temperature | up to 65 °C (normal), 70 °C (limit) |
| Lubricant fill | 30–50% of free volume |
| Radial clearance, C3 series | 0.02–0.05 mm |
| Tightening torque for M12 bolts | 70–80 N·m |
| Re-lubrication interval | every 1500–2000 running hours |
| Service life with correct installation | 20,000–30,000 hours |
Engineer’s tip. The most common cause of a new bearing’s repeated failure is not part quality but skew during pressing and grease overload. Press through a mandrel onto the inner ring and do not fill the chamber completely — the bearing needs space for thermal expansion.
How to select the replacement bearing type
Fitting “the same one” is not always correct. If the old unit consistently underperformed its service life, the selection is worth reviewing. The key criteria we weigh:
- Load type. Drums with belt tension carry mostly radial load — radial ball bearings suit; for units with an axial component, tapered roller bearings are used.
- Clearance class. For conveyors with a varying workshop temperature, a C3 clearance is chosen — it compensates for shaft thermal expansion; a standard CN may bind on heating.
- Housing design. A cast-iron housing is cheaper but rusts in the washdown zone; AISI 304 stainless steel costs more yet lasts the whole life of the line.
- Seal type. Contact lip seals hold water back better but add friction; for high speeds, labyrinth seals are chosen.
Correct selection determines 70% of the service life — the rest depends on installation quality.
Post-installation control
After assembly, do not start the line straight at working speed. Turn the drum by hand — rotation should be smooth, without binding. Start the drive at reduced speed and monitor heating and noise for 15–20 minutes. A stable housing temperature and no vibration mean correct installation. It is logical to combine this stage with a belt tension check, because dismantling the drum always changes the tension.
Record the replacement result: date, bearing type, technician. This is part of the planned maintenance culture and helps track the real service life of components.
If the same bearing is replaced a second or third time in a short period, this is a signal of a deeper problem. Possible causes — drum imbalance, frame skew, the wrong clearance type. In that case replacing the part only postpones the failure; a full diagnostics of the drive unit is needed.
Conclusion
Replacing a bearing is a simple operation only in words. Without geometry marking, torque control and correct grease dosing, the new unit fails faster than the old one. An SOP turns repair into a repeatable result. Need advice on conveyor maintenance or a spare-parts selection? Get in touch — we will help draw up a procedure for your equipment.