Conveyor belt tensioning: 5 working rules
Correct belt tension is the basis of conveyor longevity. A 5-rule checklist for the mechanic on setup and maintenance.
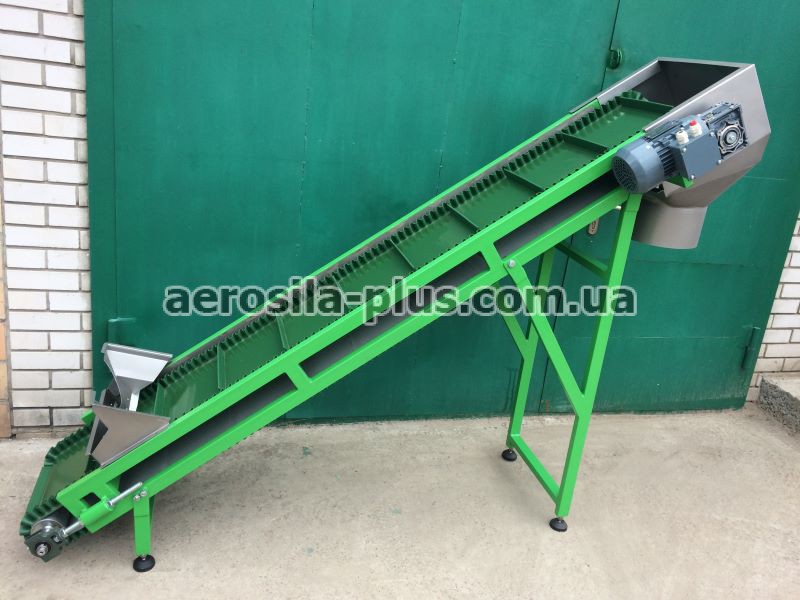
Conveyor belt tension is a parameter easy to underestimate. Weak tension leads to drive drum slippage, excessive tension to belt stretch and bearing overload. We’ve gathered 5 practical rules to help the mechanic set up a conveyor correctly.
Why tension determines conveyor service life
The belt transmits traction to the drive drum only through friction. For friction to “work”, the belt must press against the drum with a certain force — and that is what tension creates. If the force is too small, the belt slips: the drum turns while the belt stands still or moves in jerks. Slippage quickly burns the drum surface and overheats the belt in the contact zone. If the tension is too high, the whole mechanism suffers: the belt carcass stretches beyond the norm, the drum bearings work under constant overload, the shaft sags. So correct tension is a narrow corridor between two extremes — and it is exactly there that a conveyor lasts longest.
Rule 1. Tension just enough to prevent slippage
The purpose of tension is to ensure grip between the belt and the drive drum, not to “tension as hard as possible”. The reference for food PVC/PU belts is a sag of the non-working side of 1.5–2% of the span length. If the belt slips on start-up — add tension in small steps, a quarter turn of the screw on each side, and check the result on start-up under load each time. A hasty “tighten to the max” immediately drives the conveyor into an over-tensioned mode.
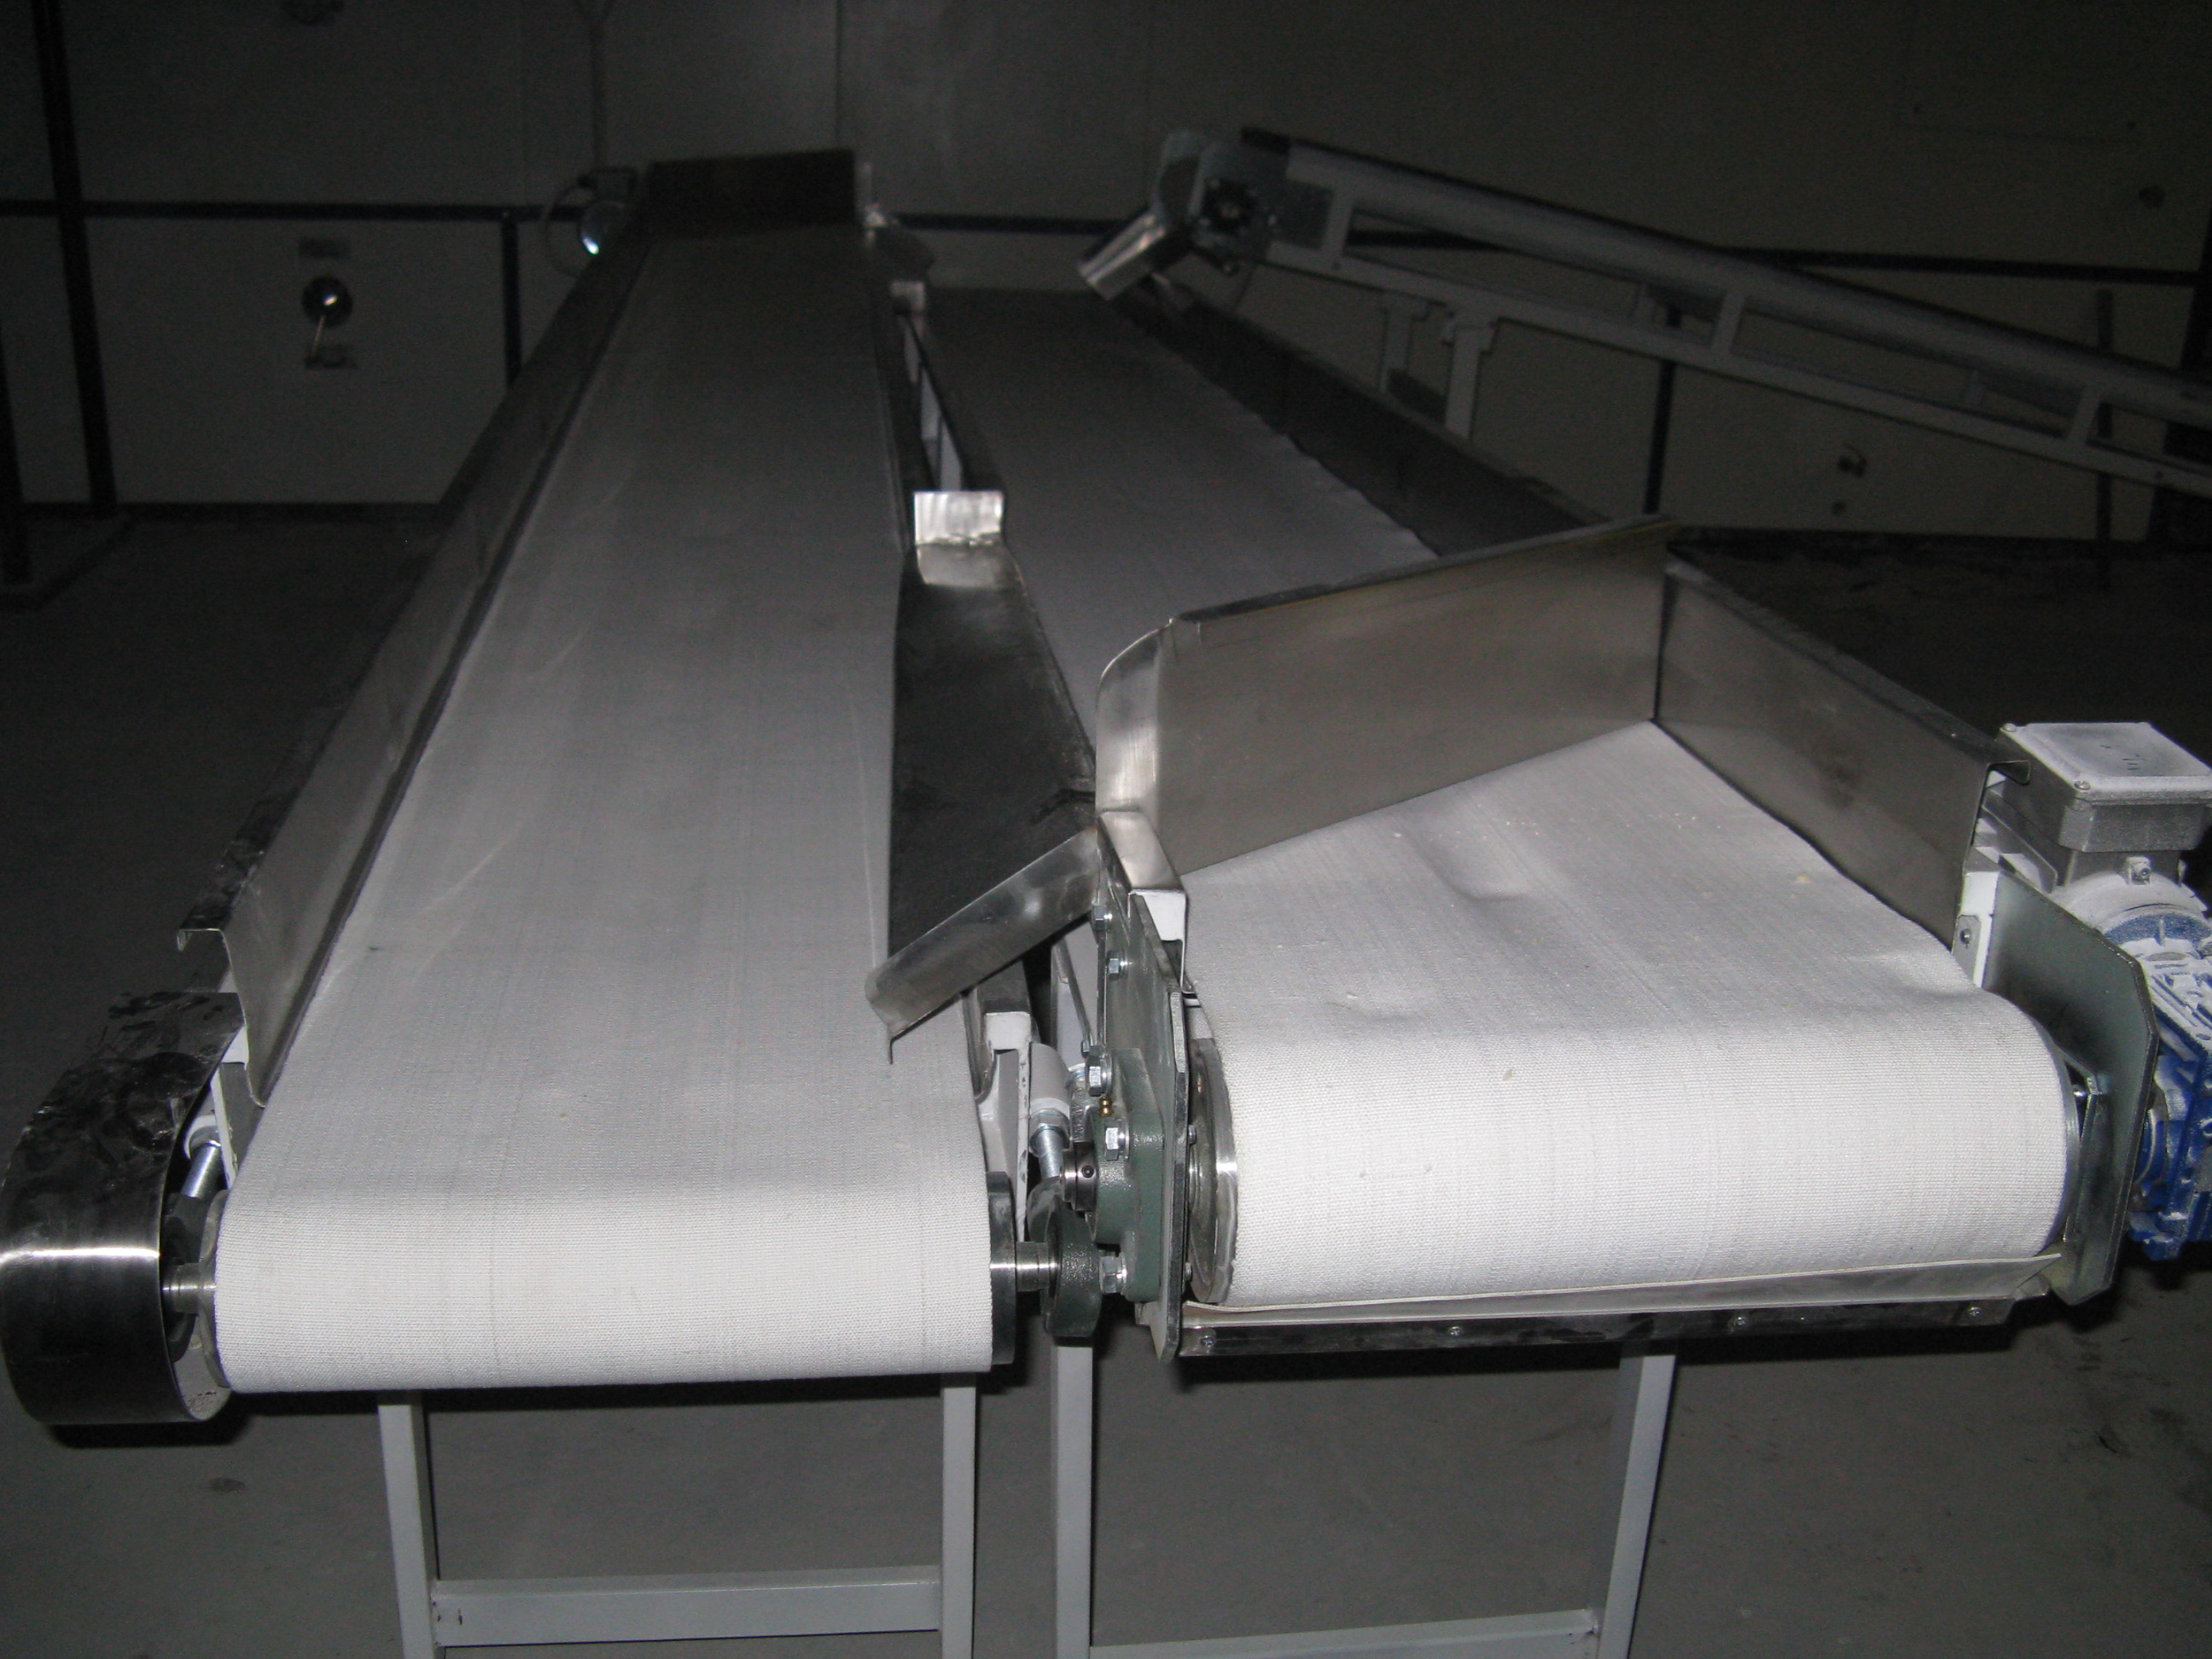
Rule 2. Adjust the tension shaft symmetrically
The tension drum is moved by two screws — on both sides. They must be tightened equally, checking the shaft position with a tape measure relative to the frame. Shaft misalignment by even 2–3 mm causes the belt to drift sideways.
| Symptom | Likely cause |
|---|---|
| Belt slips on start-up | Too little tension |
| Belt stretched within a week | Too much tension |
| Belt drifts sideways | Drum misalignment |
| Crunching in bearings | Overload from tension |
| Belt “breathes” in waves | Uneven tension across the width |
Rule 3. Let the belt “rest” after installation
A new belt always stretches a little in the first days of operation. 8–24 hours after start-up, recheck the tension and adjust. This is normal break-in, not a defect. The polyester carcass of the belt has an initial residual elongation of 1–2%, which is taken up precisely in the first shifts under working load. If you tension the belt “with a margin” right away, after break-in the tension becomes excessive — and over-tensioning begins, with all its consequences.
How to measure tension in practice
Tension does not have to be measured with expensive instruments. For most food conveyors simple methods are enough. The most common is by sag: a force is applied by hand to the middle of the span on the upper or lower side and the deflection is observed. The reference is 1.5–2% of the span length, i.e. on a 2 m section a deflection of about 30–40 mm. A more precise method is by elongation: two marks are made on an untensioned belt at a known distance (for example, 1000 mm), and after tensioning the distance is re-measured; an elongation of 0.2–0.5% is normal for most PVC/PU belts. For critical lines a torque wrench is used on the tensioning screws — it sets an equal torque on both sides and rules out misalignment.
Engineer’s tip. Don’t tension the belt “to the max for reliability”. Over-tensioning is the main cause of premature drum bearing failure and belt carcass stretch. A conveyor should run at the minimum sufficient tension.
Rule 4. Check tension on a schedule
Tension is not “set and forget”. Add the check to the maintenance plan:
- 24 hours after installing a new belt;
- then weekly for the first month;
- then monthly in normal operation;
- unscheduled — after every failure or stop under load.
Rule 5. Don’t confuse tension with alignment
Belt drift sideways is not always cured by tension. First check drum parallelism, roller cleanliness and loading centering. Tension regulates grip, while tracking is geometry. If you can’t eliminate the drift yourself — involve the service team.
The tensioning device type matters
How easy it is to maintain correct tension depends on the tensioning device design. Screw tensioning is the simplest and most common: the drum shaft is moved by two screws. It is cheap but needs manual control — the belt has stretched, the mechanic tightens it. Gravity tensioning holds a constant force automatically: a weight on the tension roller compensates for belt stretch on its own. It is fitted on long and critical conveyors. Spring tensioning is a compromise for compact food transporters: a compressed spring maintains the force within a certain range. For a conveyor with screw tensioning the check schedule is especially important, since the device does not self-compensate. More on transporter maintenance in the articles tagged maintenance.
Conclusion
Correct conveyor belt tension is a balance: enough for grip, but not excessive. The five rules above are the base for a mechanic that doubles the service life of the belt and bearings. Need help with conveyor setup or maintenance — get in touch.